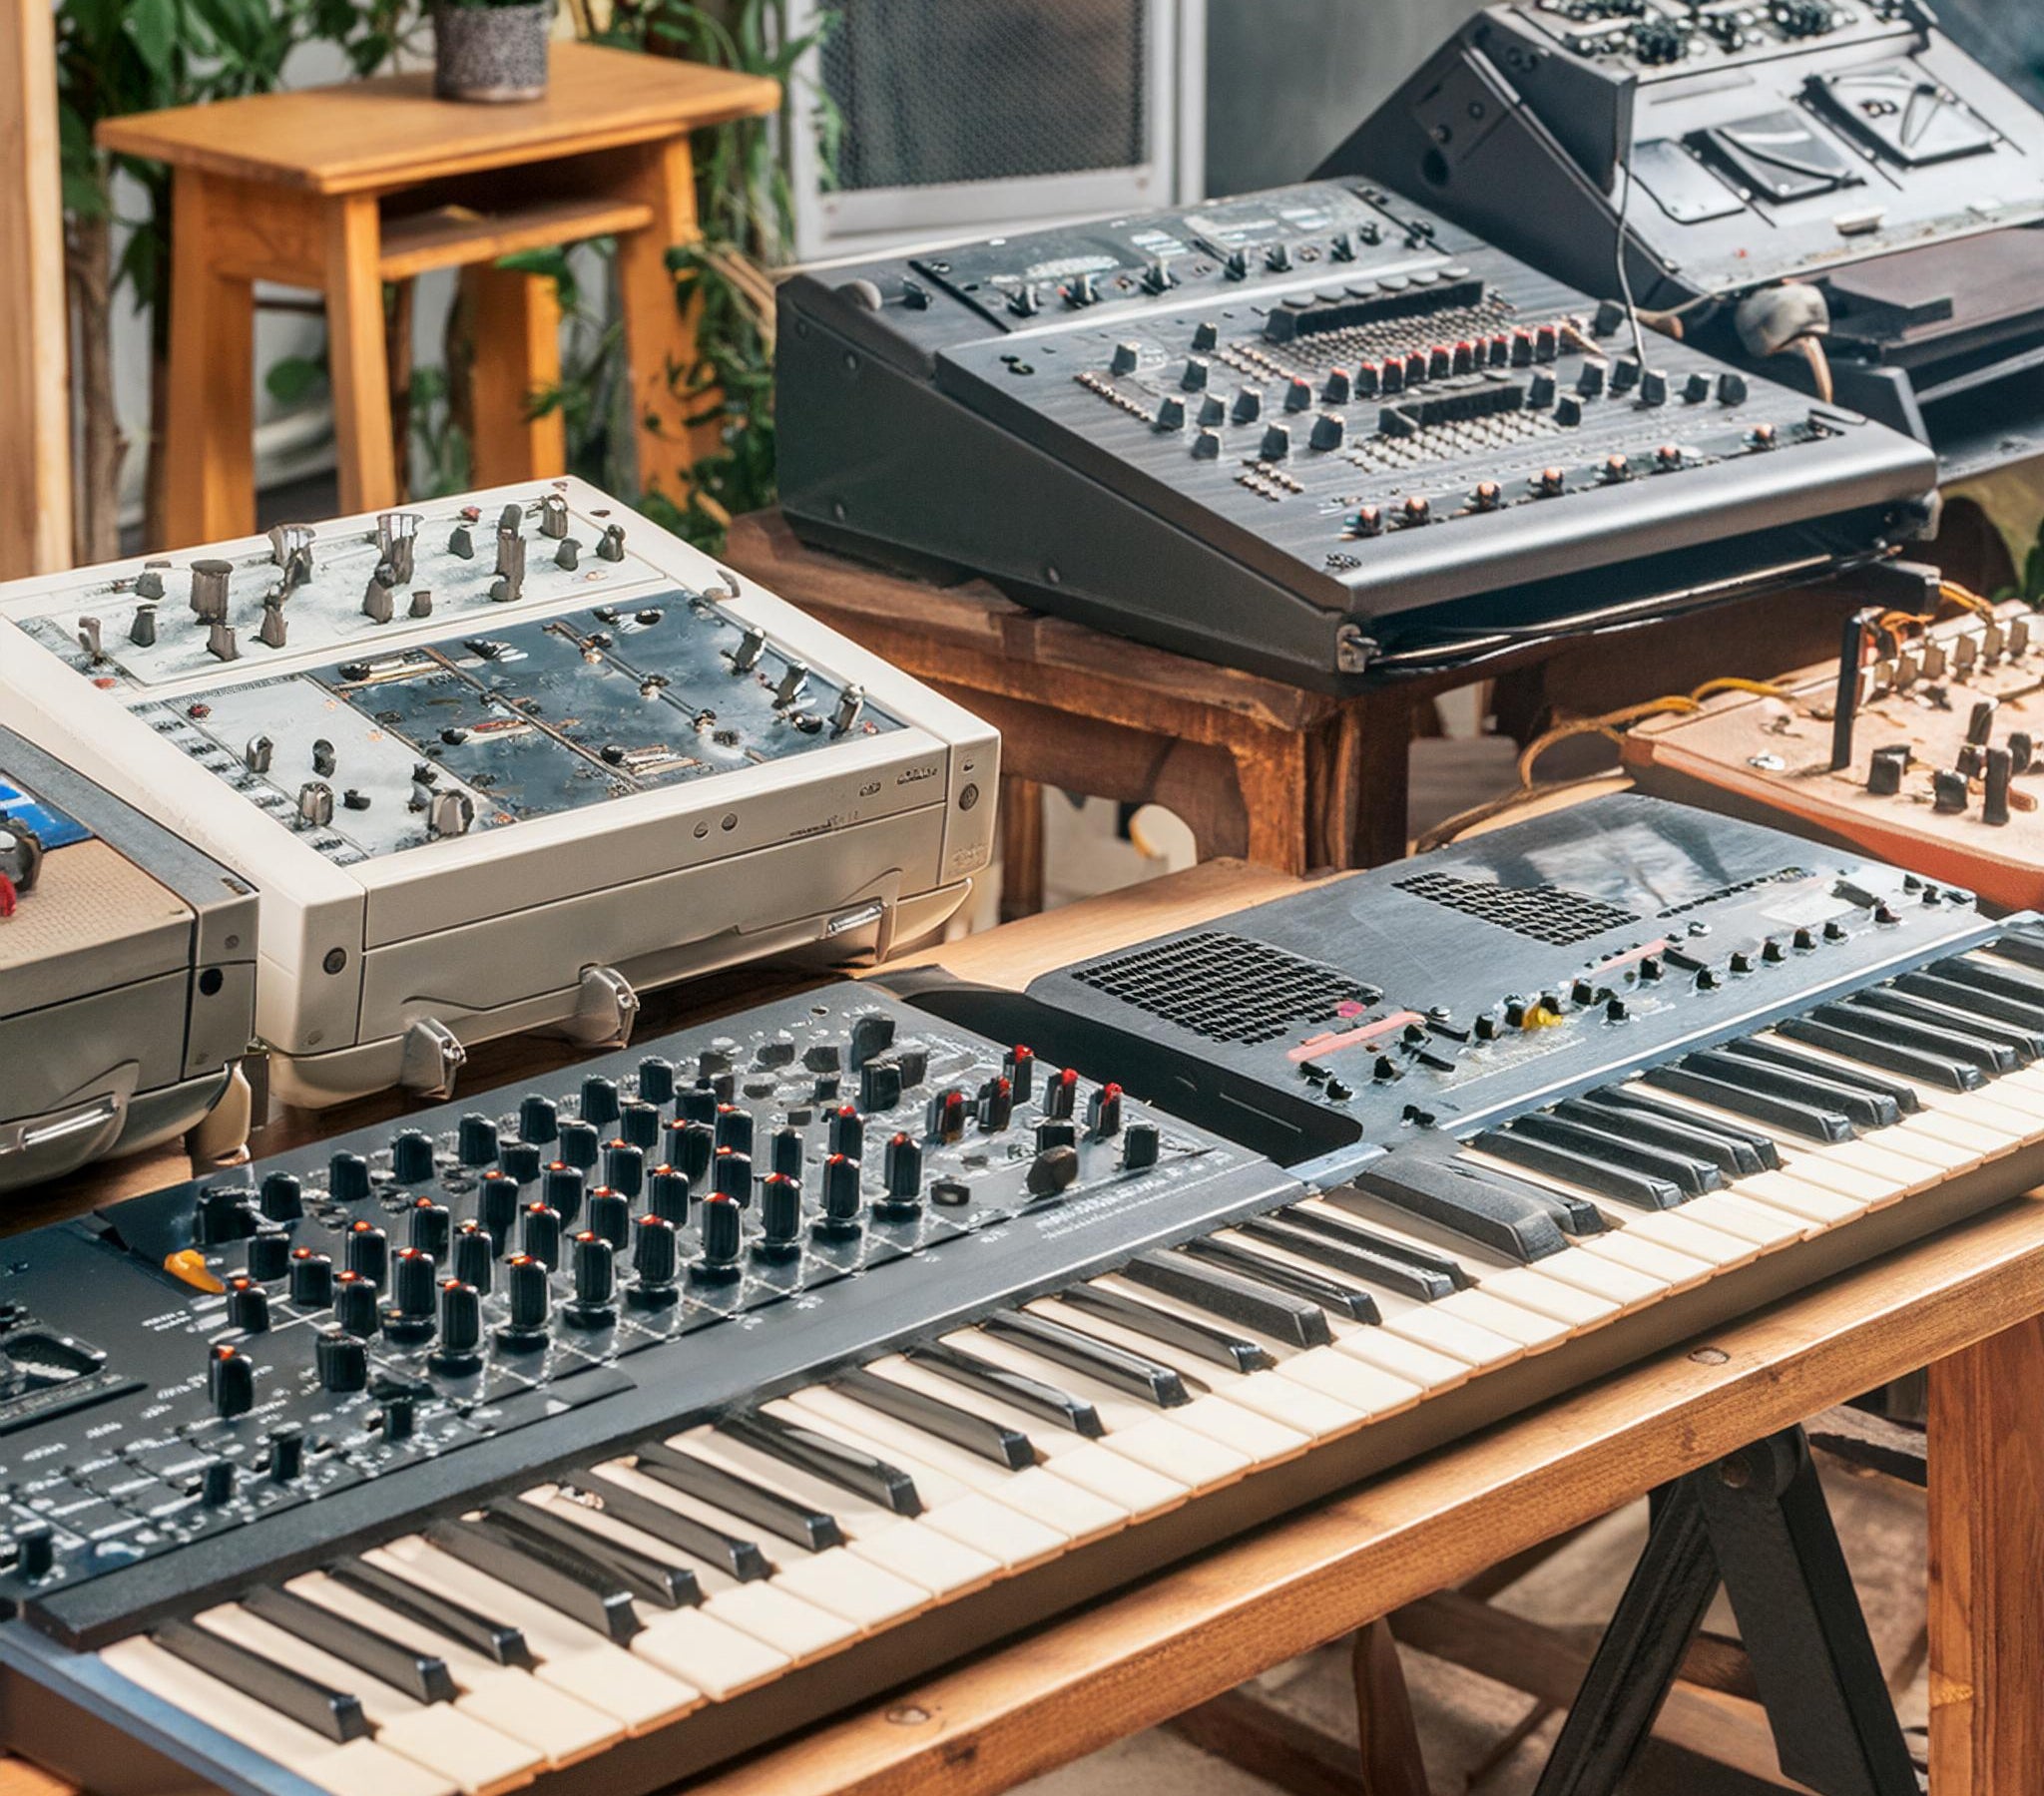
Achieving Analog Warmth with VSTs: A Guide for Modern Producers
In the age of digital music production, the warmth and character of analog sound still hold a special place in the hearts of producers and audiophiles. The good news is that you don't need a room ...

Breaking Through: How to Get Signed to an Electronic Music Label
Crafting Your Unique Sound Electronic music has taken the world by storm, with genres ranging from deep house to techno, dubstep to future bass. Aspiring producers and DJs dream of getting their ...

Top 10 Sound Design Tips For Electronic Music Producers
Sound design is a crucial aspect of music production that can set your tracks apart from the rest. Here are our top 10 sound design tips to help you create unique and compelling sounds: ...
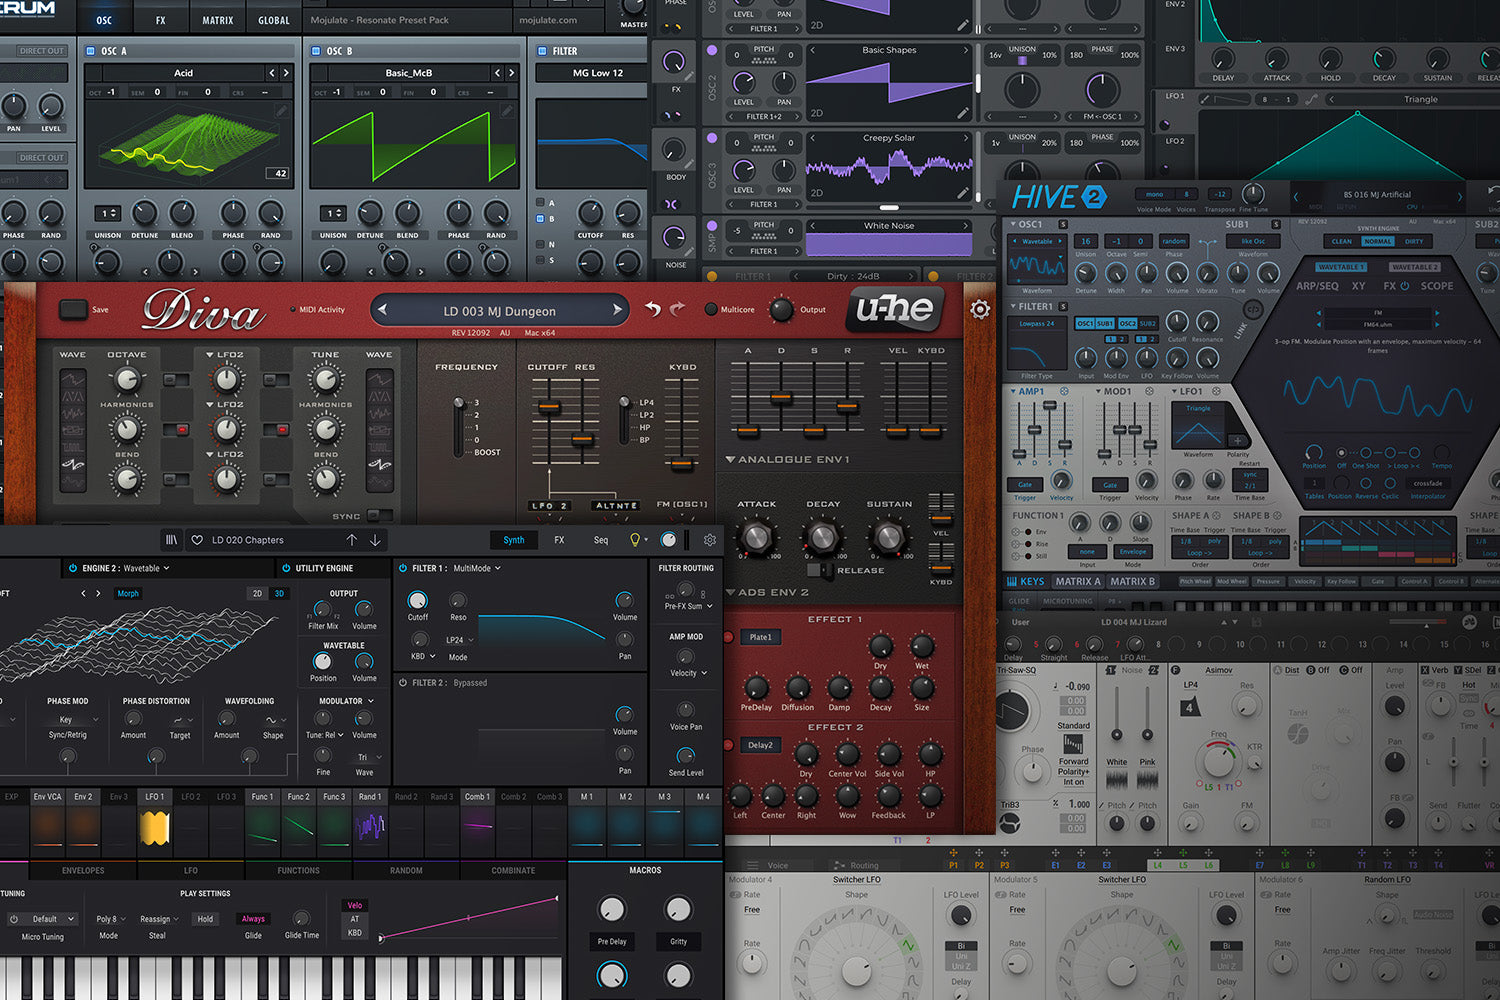
The Top 10 VST’s For Creating Electronic Music In 2023
In a world filled with an endless supply of VST plugins it's sometimes difficult deciding which plugin is right for so we've compiled a list of the top 10 plugins that have garnered widespread accl...
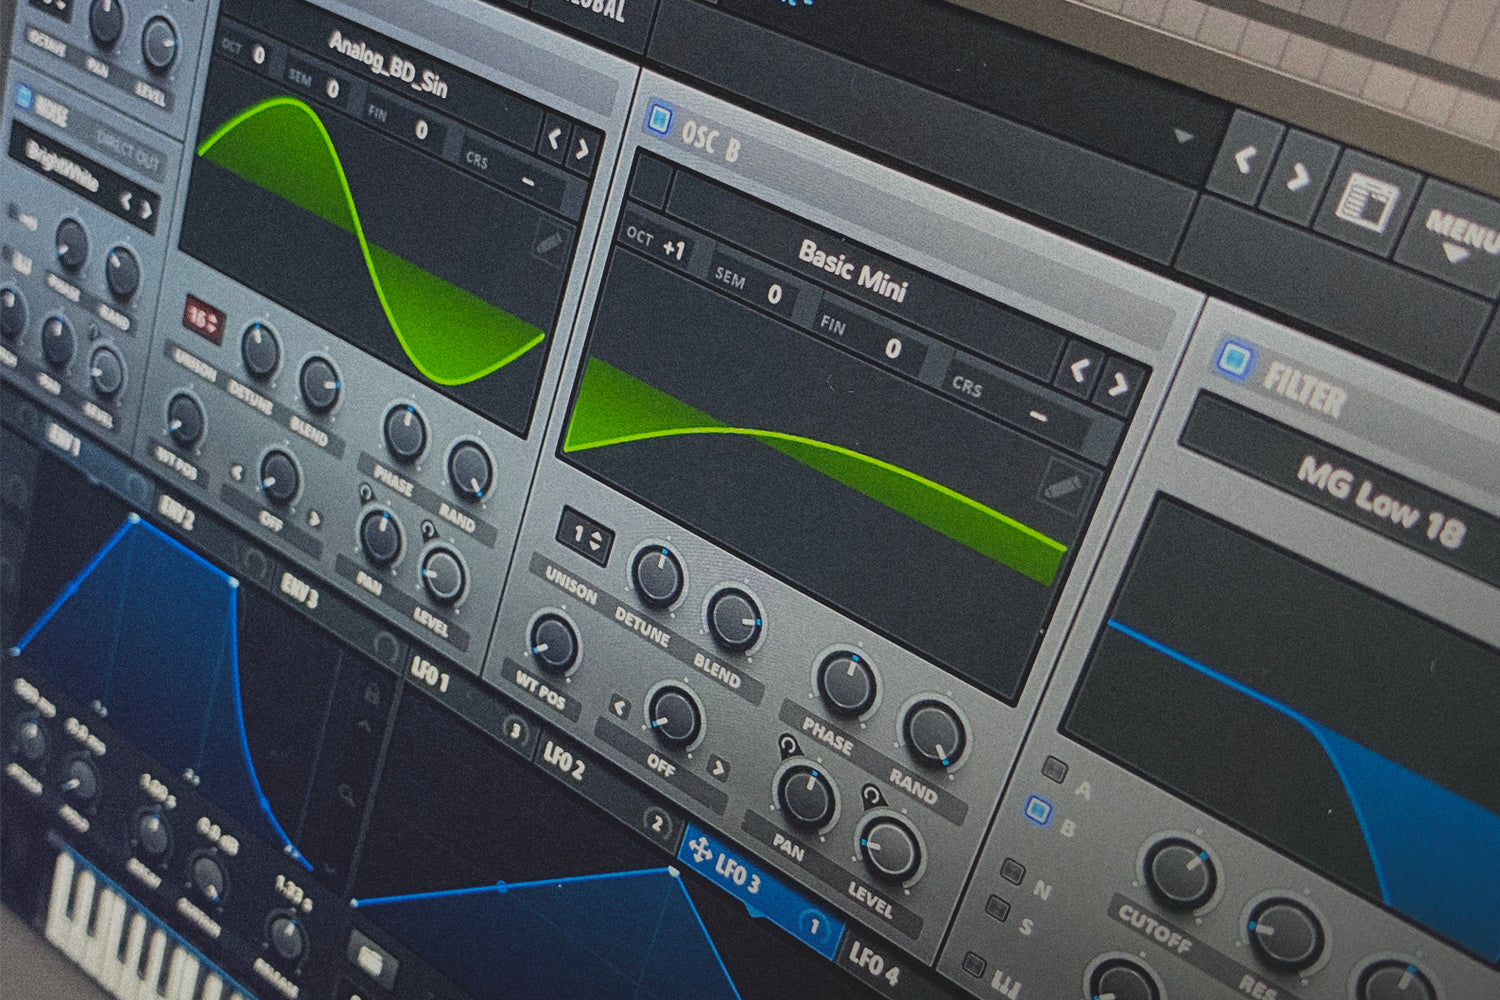
In this tutorial we will design an evolving pad using multiple LFO's to automate volume and tempo to create a constantly modulating, unique effect. To create this effect we will be using one LFO pa...