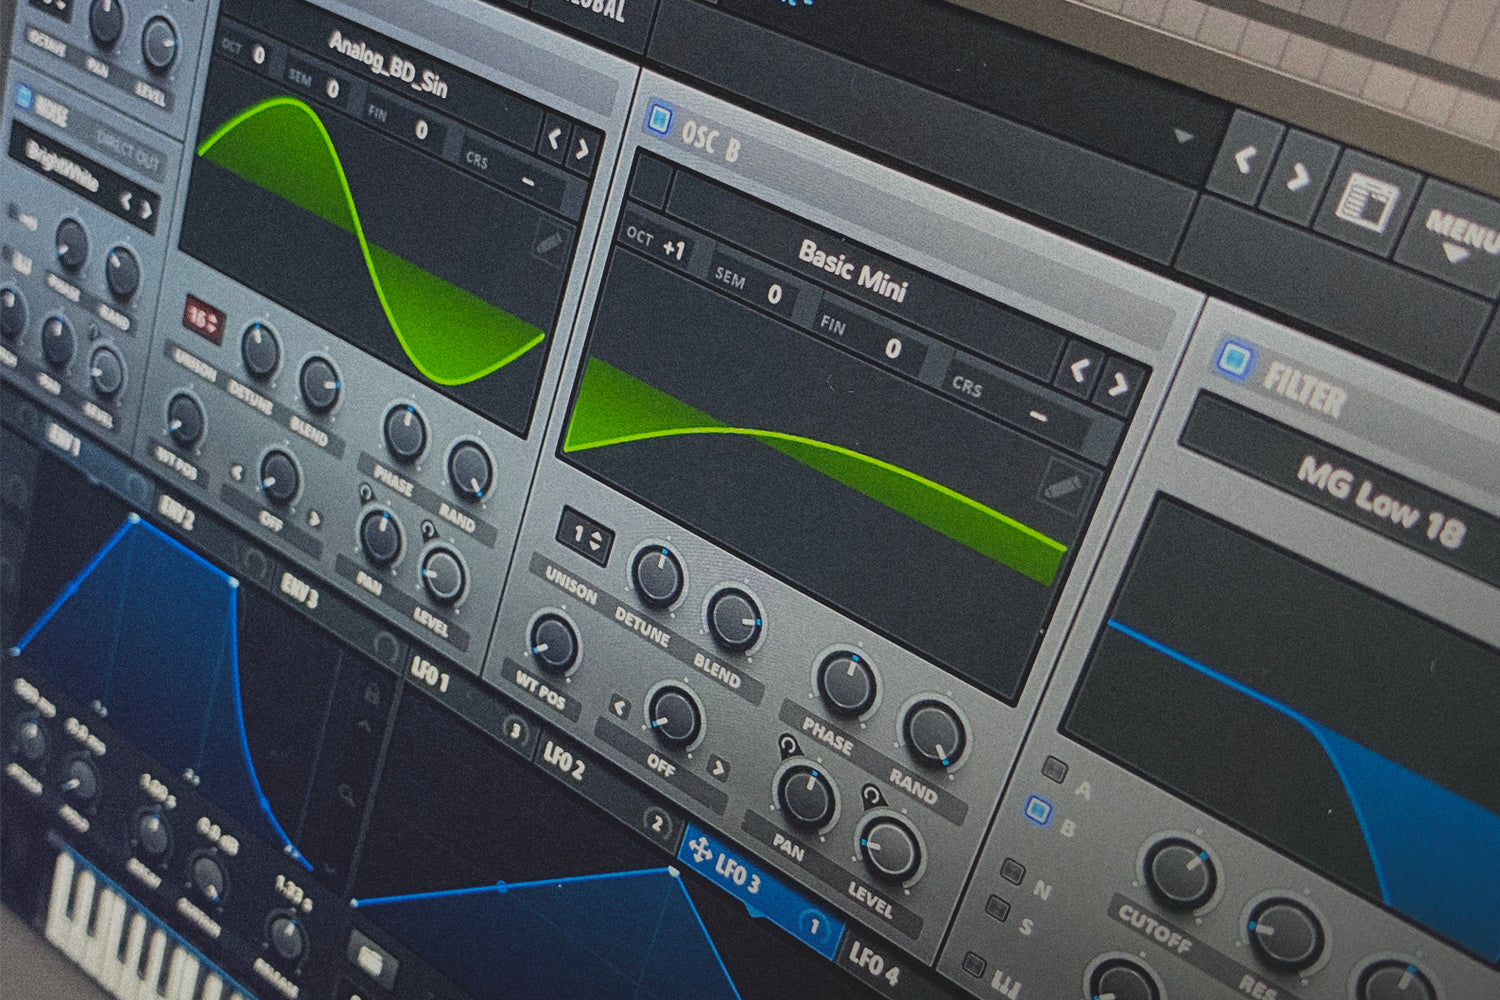
In this tutorial we will design an evolving pad using multiple LFO's to automate volume and tempo to create a constantly modulating, unique effect.
To create this effect we will be using one LFO patched to the volume parameter and another LFO controlling the rate of LFO 1.
Step 1:
Open up Serum and we will be using both oscillators and the noise engine so turn them all on. For oscillator A use 'Analog_BD_Sin' & Oscillator B use 'Basic Mini'. Push the unison on Oscillator 1 up to 16 voices and pull the detune amount down slightly. For the noise use 'BrightWhite'.
Next push the attack and release on Envelope 1 to about 12 O'clock. This is the base of the sound before we start to affect it.

Step 2:
Here is where we start to design the sound and create that evolving effect. First pull the volume down on each oscillator and noise engine and Patch LFO 1 to each volume knob. Pull the amount up the same as the image below.

Step 3:
Let's create some panning to widen the sound further. Patch LFO 2 to both oscillators Pan knobs and push the amount up as shown below.

Step 4:
Here is where the sound really starts to come alive. Following the image below on LFO 1, right click on the rate knob and in 'Mod Source' select LFO 3. This will now create an evolving sound, speeding up and slowing down thanks to the LFO 3 controlling the tempo of LFO 1.
Next unselect the BPM light on LFO 1 & LFO 3. This is important to get the desired effect.

Step 4:
Pull down the rate knob in LFO 3 to 0.2Hz as this will slow down the rate of LFO 1. Next in the Matrix section, slightly pull down the amount from LFO 3 to LFO 1 rate. Again this will make the sound smoother which is what we want.

Step 4:
Finally in the FX section, add some dimension and reverb as shown below to further widen and soften the sound.
Now play some chords on your keyboard and there you have it!


